Create a Vault
1. Go to the 'Create Vault' page
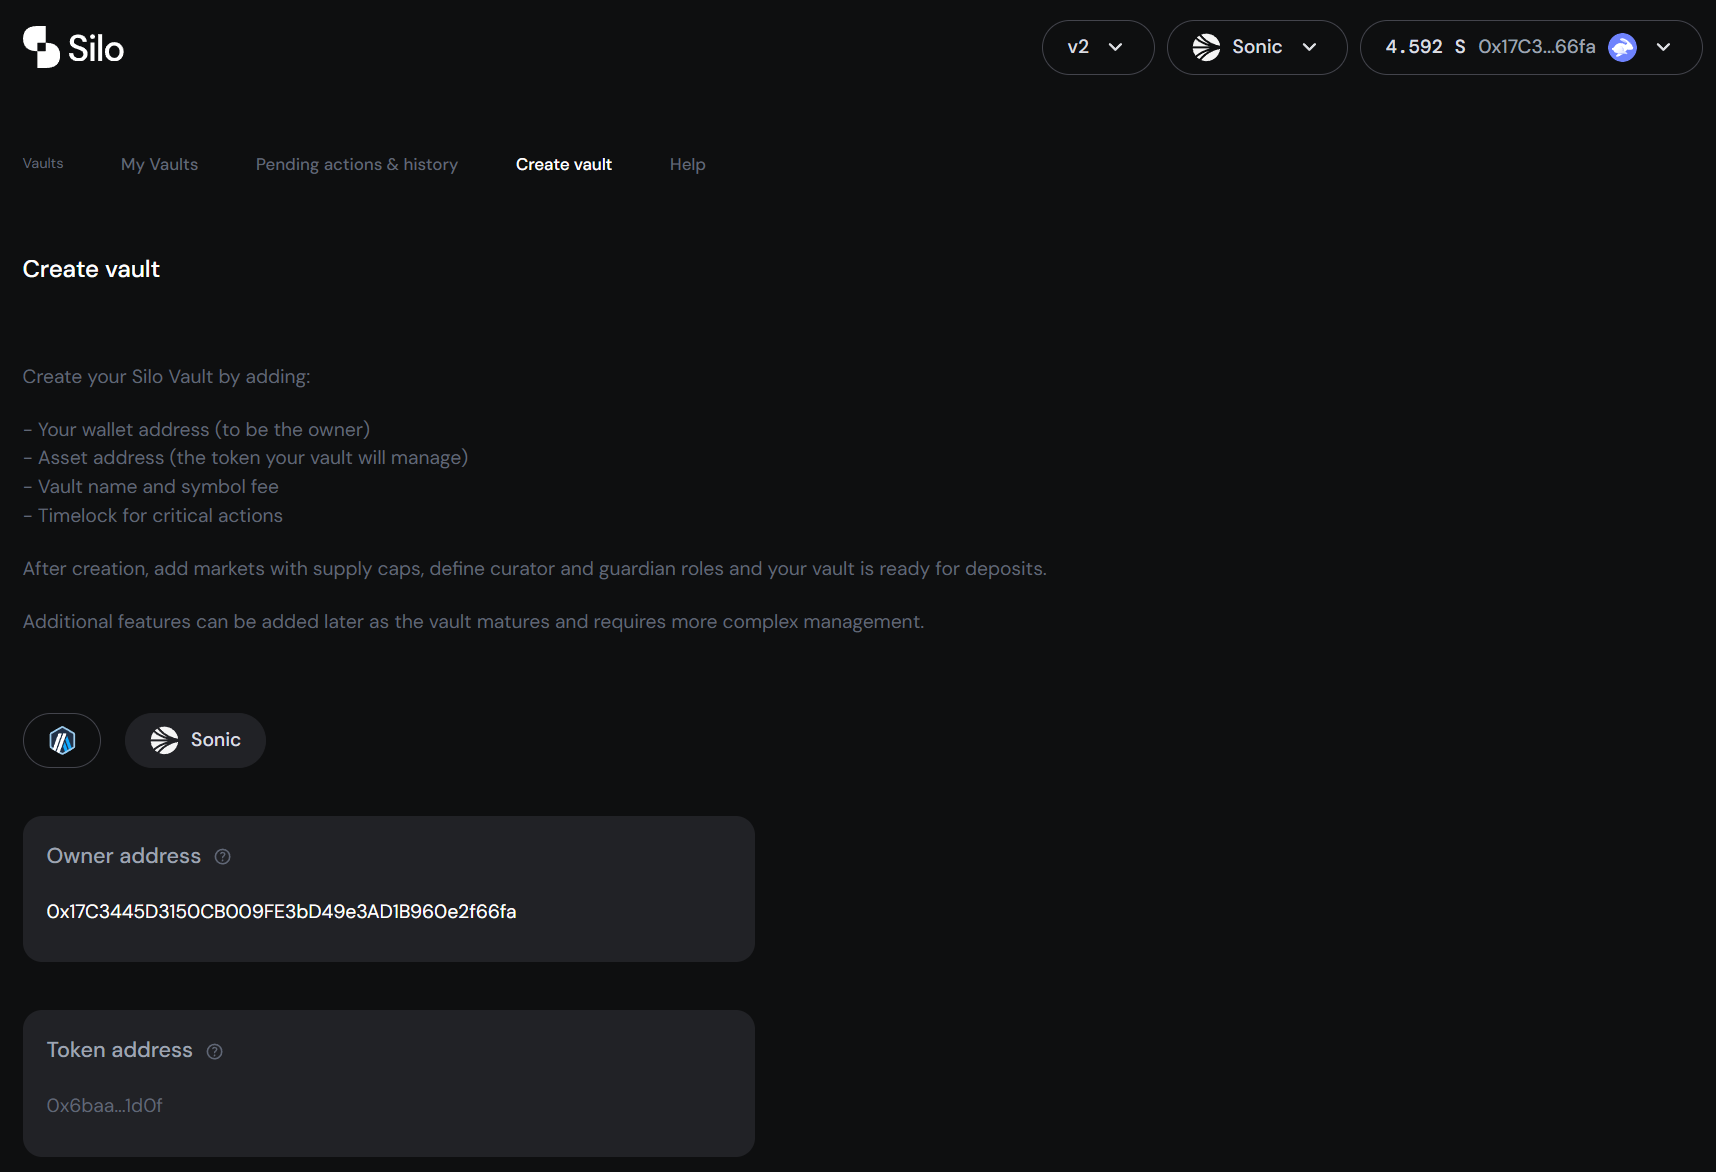
Go to the 'Deploy a Vault' page on the Vault Manager UI.
2. Select deployment chain
Select your deployment chain by clicking the respective chain icon.

Here we are selecting Sonic as our deployment chain.
3. Confirm Owner address
The connected wallet is automatically set as the owner address and cannot be changed during deployment (it may be changed after deployment).
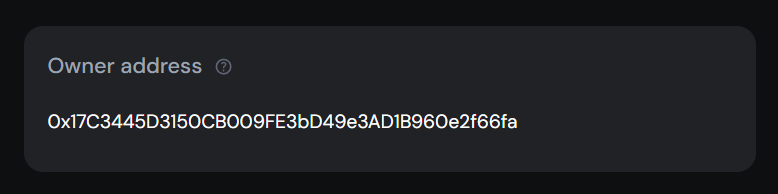
Ensure the correct wallet is connected before proceeding.
4. Input Owner Name
Input the vault creator name (e.g. the name of your protocol/entity).
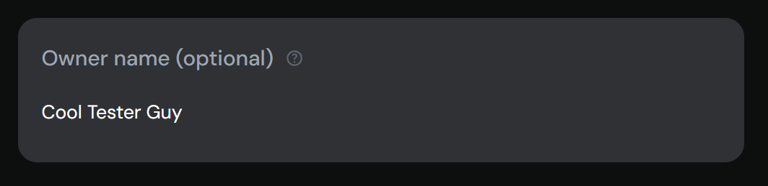
This will be displayed on the Silo UI.
5. Input Vault Token address
This is the contract address of the token to be accepted by the vault.
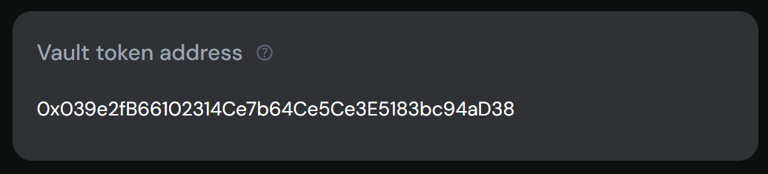
You can obtain the vault address from the Overview page of the vault.
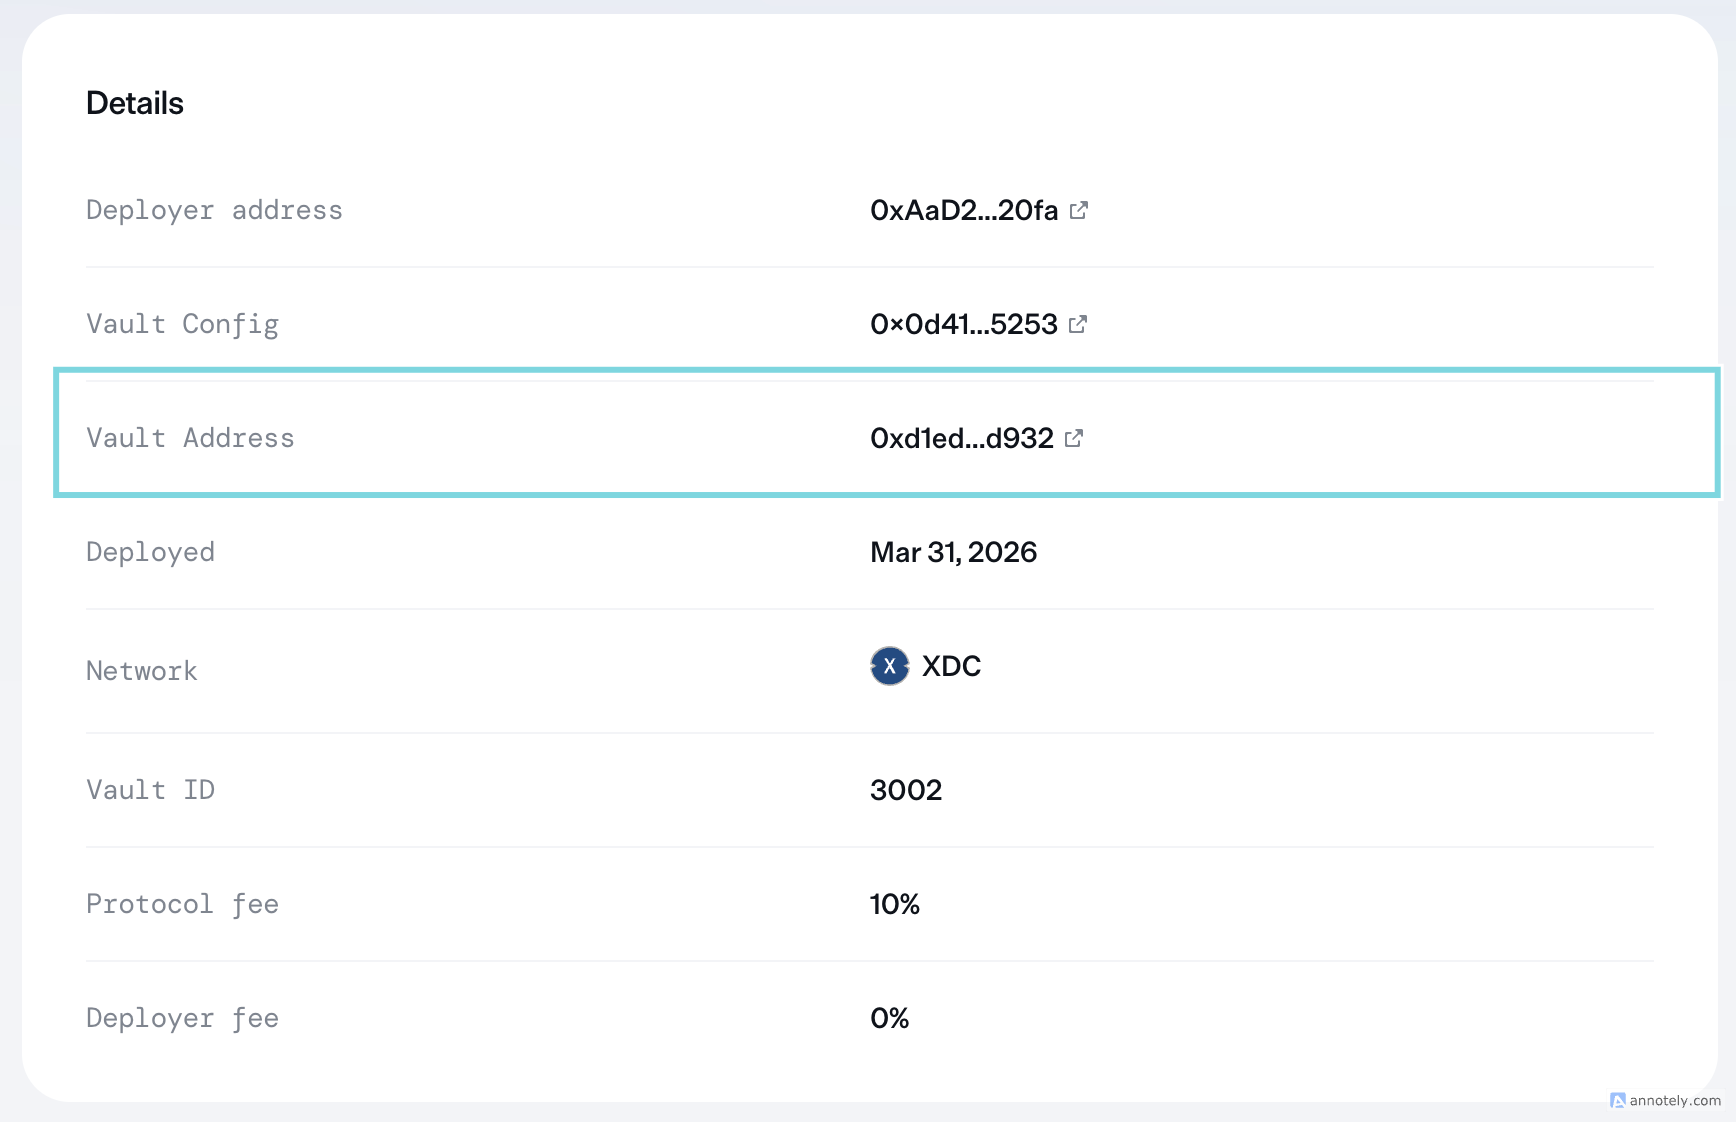
Ensure the token address corresponds to the chain the vault is deploying on.
6. Input Token Symbol
This is the symbol of the token to be accepted by the vault.
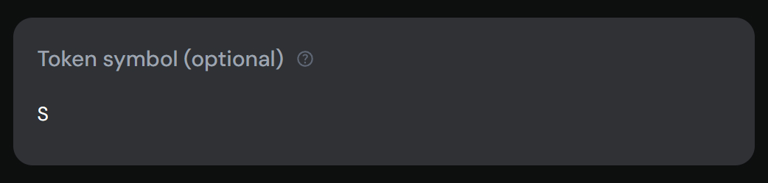
This should correspond to the vault token address input in step 5.
7. Input Initial Timelock
This is the time-lock that must elapse before core functions (e.g. adding markets, changing supply caps) can be executed.1 day is the minimum you can set.
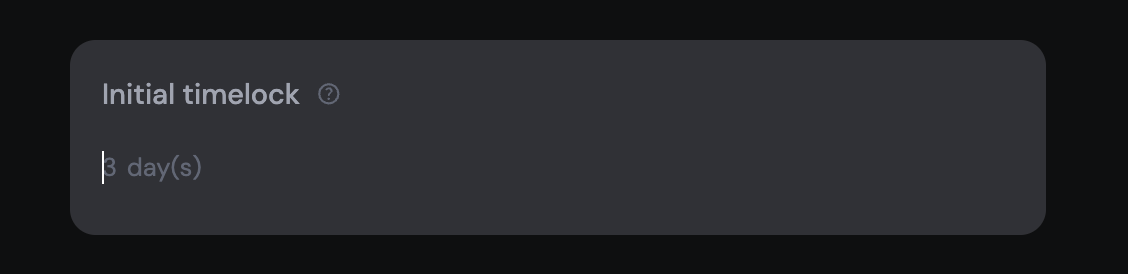
Timelocks can be changed after deployment (this itself is a time-locked action).
8. Input Vault Name
This is the name you'd like to give your vault.
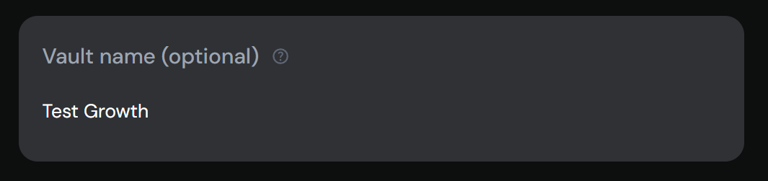
This is displayed on the Silo UI, allowing you to differentiate vaults with the same underlying token.
9. Review and Deploy Vault
Your inputs will be summarised in the action summary.
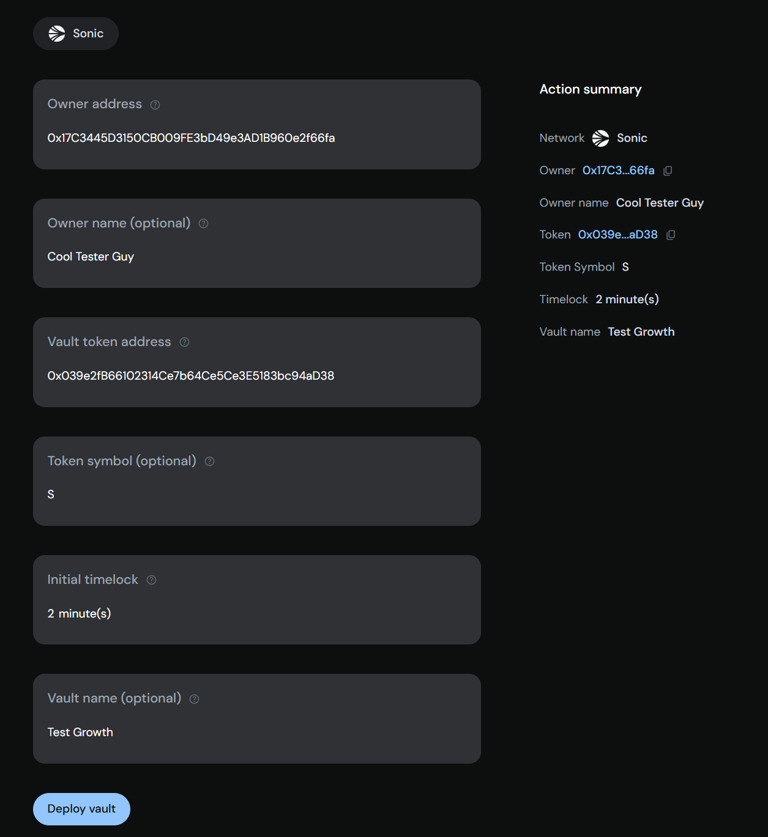
If you're happy with this, click 'Deploy vault' and your vault will be created.